
Internet not Working Due to Self-Assigned IP Address on Mac: How to Fix it


How to Fix Self-Assigned IP Address Issue on Mac running macOS High Sierra or Later
Step #1: Open Finder on your Mac.
Step #2: Click on Macintosh HD.
Note: If you don’t find Macintosh HD in Finder sidebar then click on the Finder menu → Preferences → click on Sidebar tab → click on Hard disks under show these items in the sidebar.
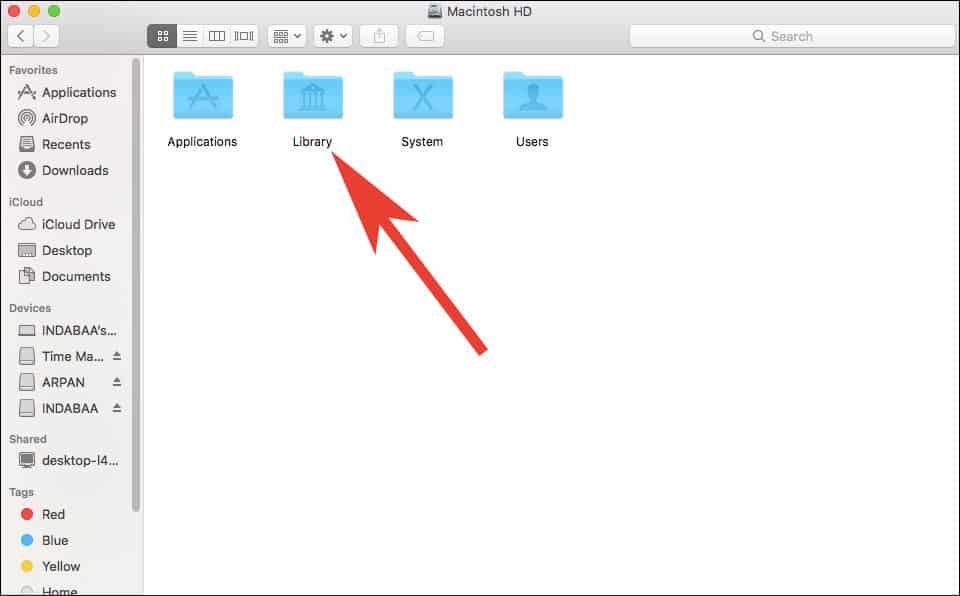
Step #3: Click on the Library folder.
Step #4: Click on Preferences.
Step #5: Now, click on System Configuration folder.
Step #6: Next, Put this below mentioned files to trash. (Don’t delete this files right now for your trash)
com.apple.airport.preferences.plist
com.apple.network.identification.plist
NetworkInterfaces.plist
com.apple.network.identification.plist
NetworkInterfaces.plist
Step #7: Finally, restart your Mac and delete those files now from your trash as they corrupted and your mac has created similar files again.
Once your Mac is restarted, self-assigned IP address issue will be cleared, and you can use the Internet without any issue.


No comments:
Post a Comment